How To Install A Neat Lan Structured Cabling System In An Office.
In today’s business environment or even in any institution, there is an absolute need to share information with people within the office and in the greater world. Technology has over the years evolved to ensure that information and other resources are shared seamlessly, with speed and securely; as a result the need for a structured cabling system.https://spansventures.com/
With this comes the need for an infrastructure to enable the Computers to be connected to a central hub through wired or wireless communication.
The cabling system which extends from the telecommunications outlet in the work area to the horizontal cross-connect in the computer server room. It includes the Data outlet, horizontal cable, and the mechanical terminations and patch cords.
Therefore Our main focus today will be on how to install and maintain a neat wired communication using the following procedure:
Step 1: Trunking Placement
- Trunking will be used to house data cables. Depending on the number of cables you want to run Ensure you have trunkings and/or conduits neatly placed by screwing them or using contra glue on your wall.
Step 2: Data Outlets
- The Data Outlets will be mounted on the trunking depending on the size of trunking. If the trunking used is small in size the outlet should be screwed on a patresse box then mounted on the wall close to the user end.
- Modular jacks to be used on the data outlets must meet or exceed all augmented performance requirements for support of the pending 100 BASE-T application standard.
- This superior level of performance should be achieved via an enhanced circuit board design, optimization.
Step 3: Cabling
- Run all your cables from the proposed user end area into the trunking up to the server room or where the cabinet is placed.
- An allowance of 10m (33 ft.) should be provided for the combined length of patch cords and equipment cables.
- The cabling should have a consistent architecture to reduce total ownership for on-going support and maintenance, component and interface management. https://spansventures.com/lan/
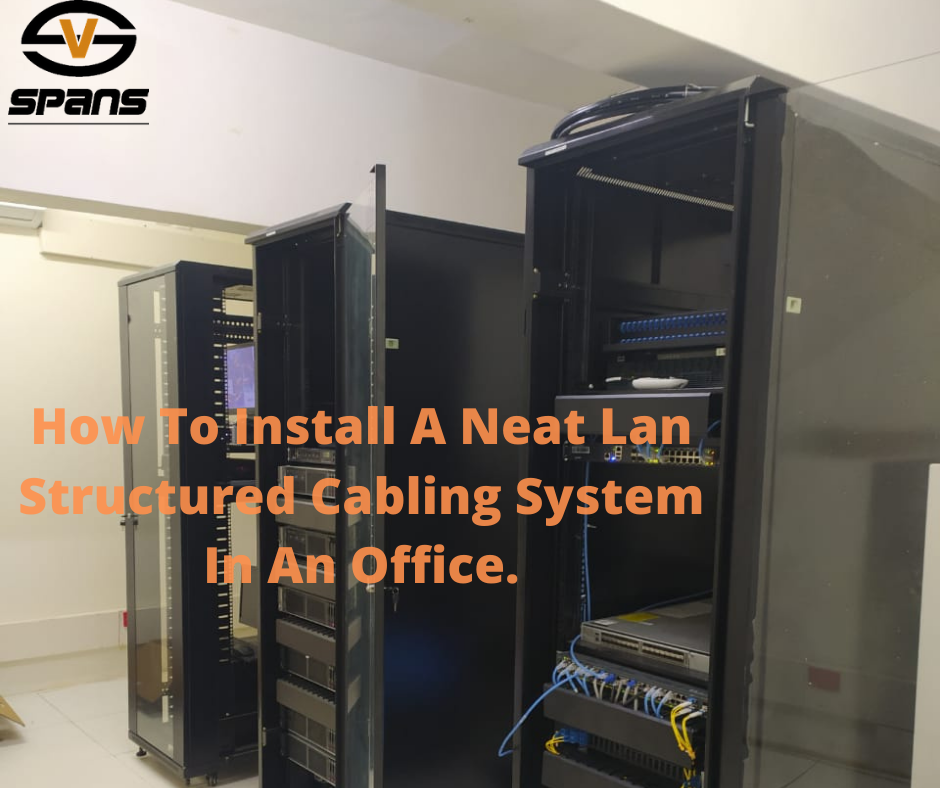
Step 4: Cabinet Placement
- Network Cabinets should be mounted at strategic locations in the building. This is where the network equipment will be rack mounted. The switches shall provide connectivity to the Various ICT Equipment and other network equipment.
Step 5: Cabinet cooling system
- All cabinets should be installed with cooling fans for controlling temperatures. The solid side panels should be externally removable. Cabinet Top Panels should be solid, vented, fan tops (both 4.5” and 10” in multiples), available with grommet/cabling holes.
- Forced cooling should be provided by two fans in each cabinet
Step 6: Termination
- All the Cables should terminate at the Patch Panels which will be rack mounted in the Cabinet.
- The patch Panel should be earthed to provide electrical safety
- All patch cords connected to the patch panels will be labeled with PVC and/or Label Printer.
Step 7: Switch Mounting
- The switches should be rack mounted in the cabinet. This will provide connectivity to the Various ICT Equipment and other network equipment
Having followed the above procedure your structured cabling system should be up and running efficiently to your satisfaction.#